ChatGPT Plus (GPT-4) and even the original GPT-3.5 are great tools to help with software development. Often when we think of AI for coding we think of GitHub Copilot and other tools that embed directly into your IDE. That embedded experience is good when you need tactical help with the code you’re writing. But sometimes it can start to feel a little cramped in your IDE when you’re asking broader technical and architectural questions or even DevOps focused questions.
For these broader and more open-ended questions, the big, clean web experience of ChatGPT can be nice. But there are a few ways to make that experience even sweeter.
Turn ChatGPT into a Separate App
If you like being able to quickly tab to ChatGPT whenever you have a question, a quick hack is to use Chrome to save https://chat.openai.com as a shortcut. Just follow these steps:
- Visit ChatGPT in your Chrome browser and login as usual
- In the top right of the browser window click the three dots then choose Save and Share → Create Shortcut

- In the dialog, give your app a name and select Open as Window

- This should create a new app that you can pin to your Dock (Mac) or Taskbar (Windows)
Now you can open and run ChatGPT separately from your browser and easily tab to it using your operating system’s application switcher. This new app is still a full featured Chrome browser, including extension support which will come in handy for the next tips.
Use ChatGPT Keyboard Shortcuts
Thanks to OneCoolTip for sharing this one. When you’re on the ChatGPT site, Ctrl + / (Cmd + / on Mac) will bring up the list of keyboard shortcuts.
Always Give the ChatGPT Text Input Focus
One great thing about ChatGPT is its ability to generate code blocks and CLI commands for you. It even includes a handy “Copy code” button on these code blocks. But when you click “Copy code”, the “Message GPT …” input box at the bottom of your chat loses focus, slowing things down when you want to ask follow-up questions.
This means that if you’re copying code or commands, switching to another application to paste them, and then switching back to continue your chat you’ll have to click again in the text box. A minor annoyance but one that adds up over time. You could use the Shift-Escape keyboard shortcut above to refocus input each time. But I created a TamperMonkey script that automatically does this every time you return to your ChatGPT window.
To use this script, first install the TamperMonkey browser extension, then use the link above to install the script.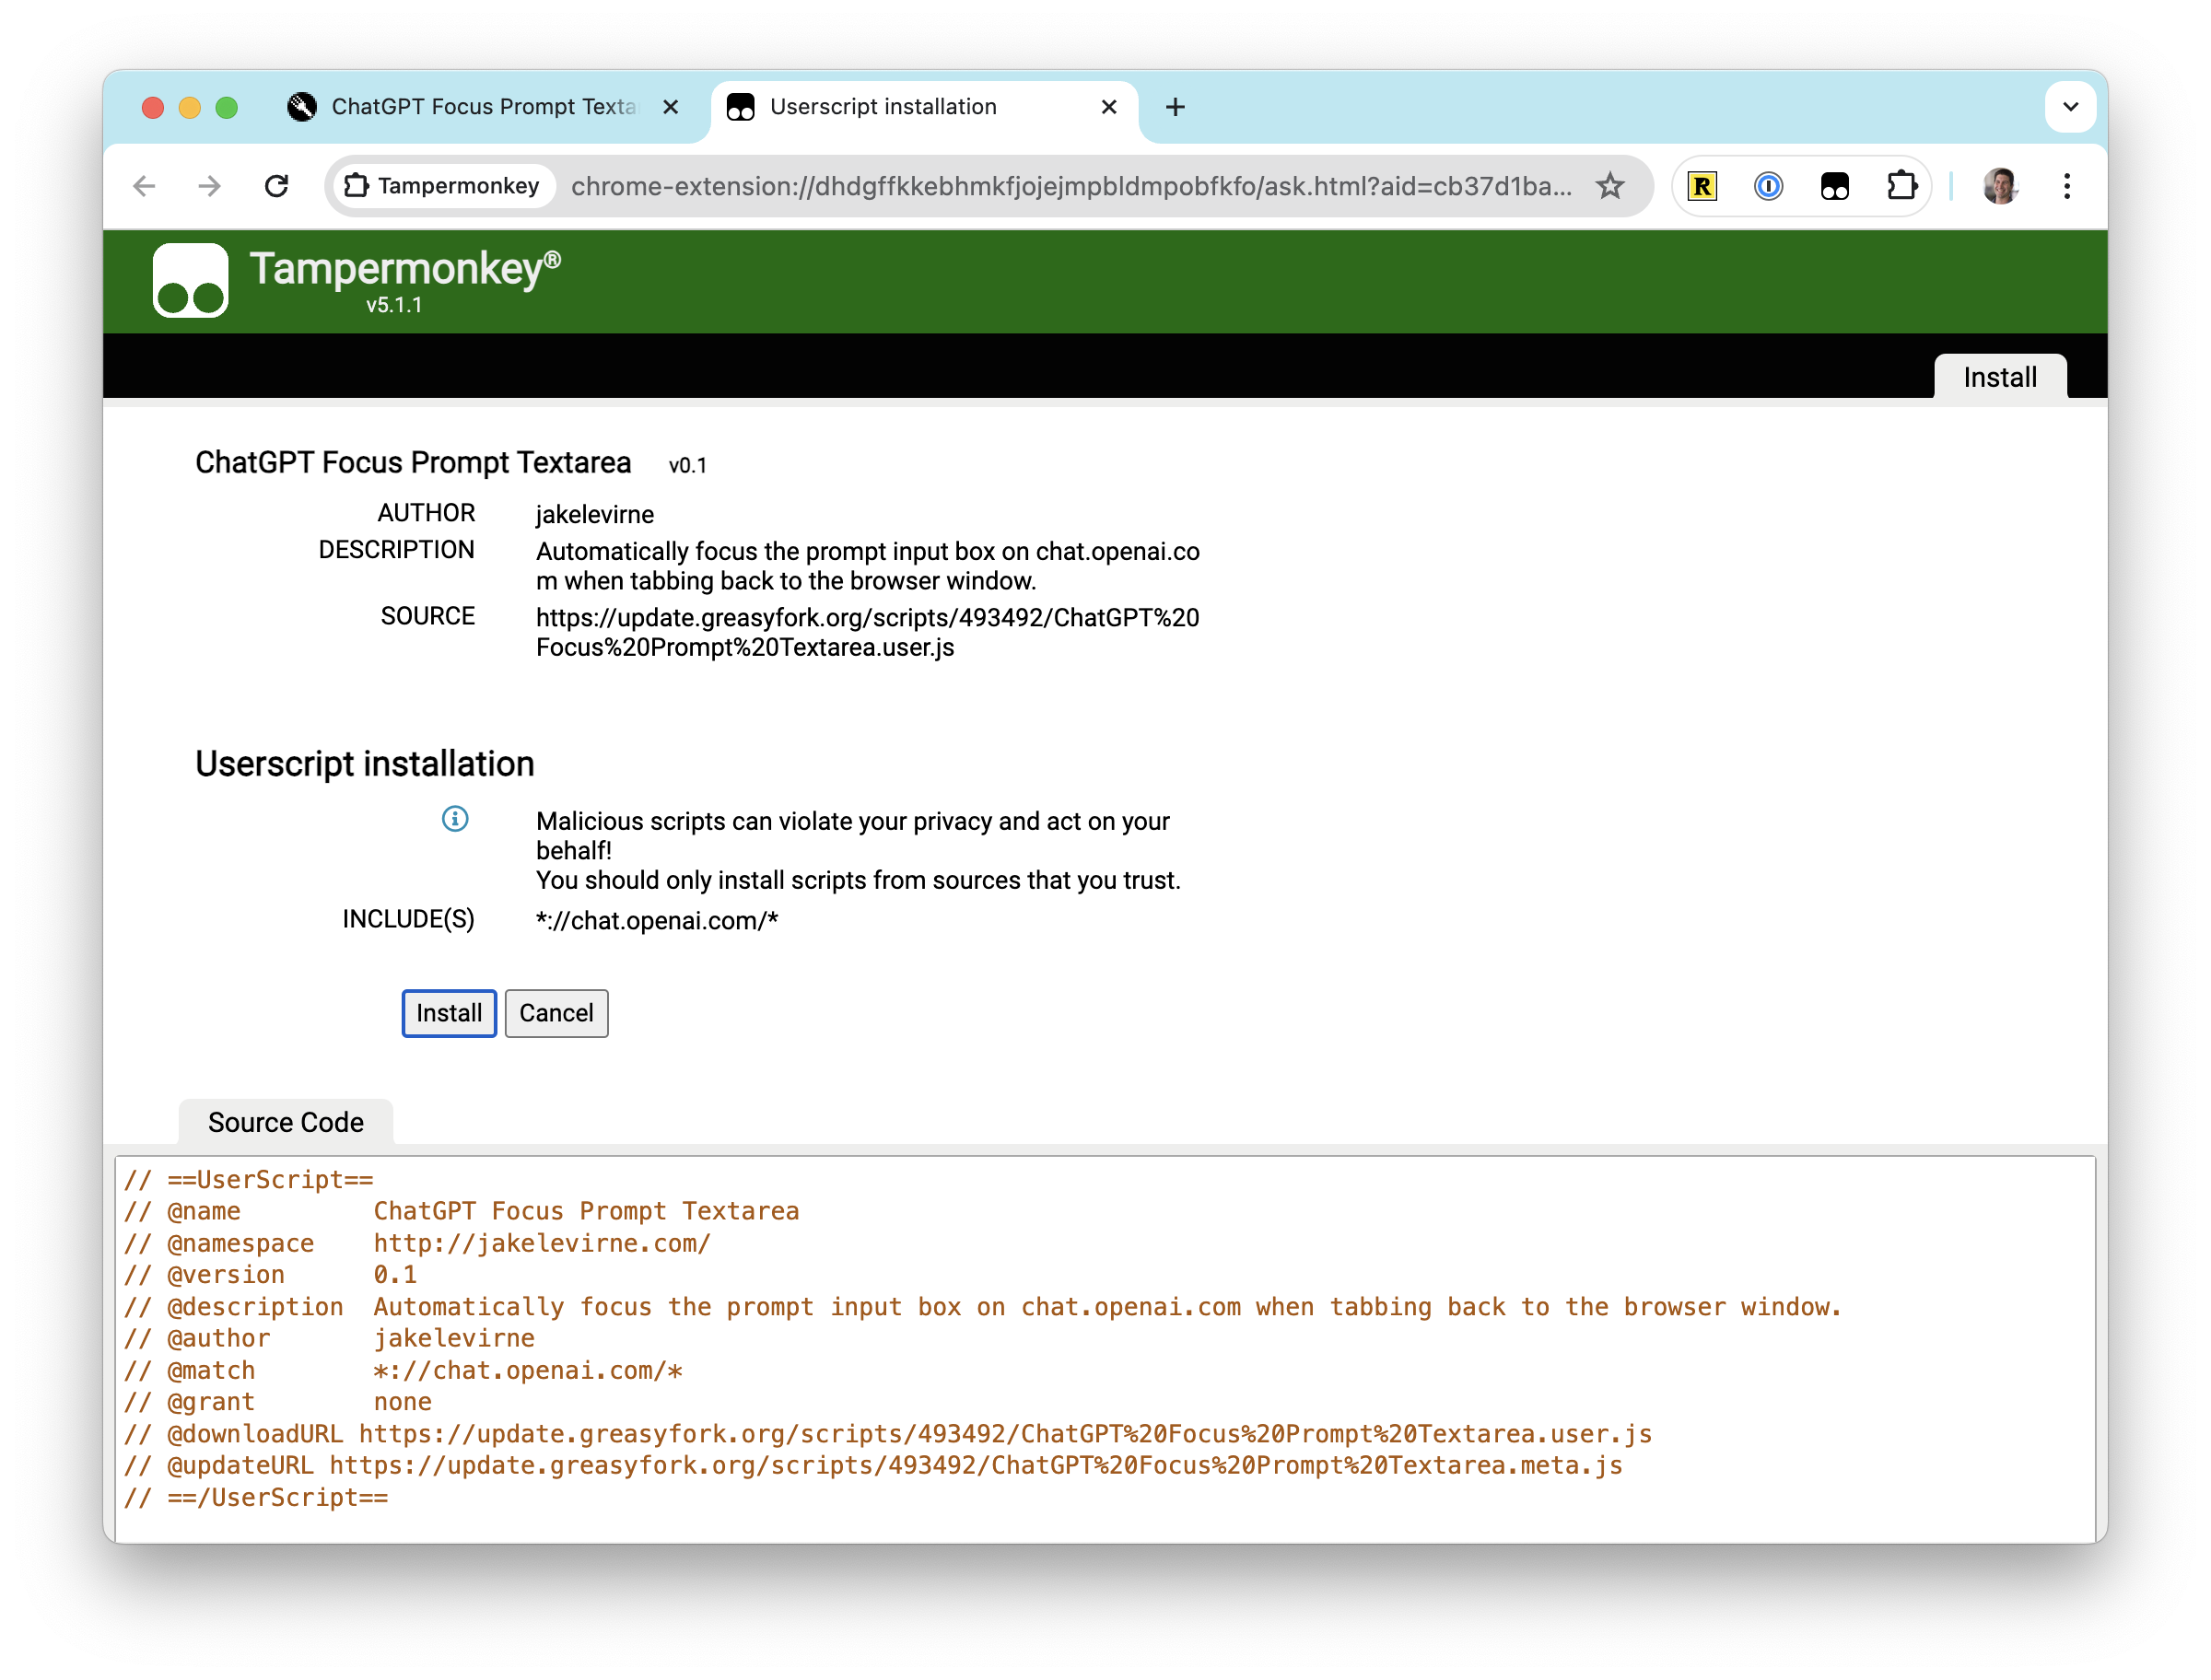
Once the script is installed you can now visit https://chat.openai.com (reload the page if needed), and you should see the ChatGPT Focus Prompt TextArea script enabled when you click on the TamperMonkey icon (or the Extensions icon if you haven’t pinned TamperMonkey).
Now whenever you visit ChatGPT in your browser or in the separate app you created above, the “Message ChatGPT…” prompt textarea at the bottom of the page will always be in focus even if you had clicked somewhere else on the page previously.
One tip for TamperMonkey is to narrow down its Site Access as a security measure. To do this, click on the Chrome Extensions icon (the puzzle piece) and select Manage Extensions. Scroll down to Site Access and set it to “On specific sites”. Then add these two site expressions:
The first allows scripts like this one to be installed and updated from GreasyFork, a popular user script repository. The second allows the installed script to work on the ChatGPT site.
Make it Easy to Save Chat Transcripts as Markdown
Once you’re comfortable with TamperMonkey and user scripts, a whole world of possibilities opens up. One of the most helpful user scripts I’ve found is ChatGPT Exporter. It allows you to save your ChatGPT conversations as Markdown, HTML, JSON, or images. You can export individual conversations or an entire batch.
The steps to install it are similar to the script above. If you’ve changed site access to only specific sites, you’ll be prompted to allow access to one more site (cdn.jsdelivr.net) which is a CDN used by this script and is needed for things to work properly.
Now you can do things like organize these in Obsidian, edit them in Typora, or work with them in VSCode. These can serve as helpful starting points for RFCs, architecture, and design documents.
Try Other Web-based AIs for Software Development
- Phind (free/paid) offers a great chat interface, retrieval augmented generation for more up-to-date answers, a choice of different LLMs, and a VSCode extension that does a nice job of letting you control which files in your editor are pulled in as context for your question.
- Perplexity (free/paid) is an AI augmented web search that writes up a summary of your search results, often including the direct answer to your question. One really nice aspect of Perplexity is that it offers up suggestions of related questions you might want to follow up with.
- Microsoft Copilot (free/paid) is different than GitHub Copilot, which many of us know and use within our IDE. Microsoft Copilot is a broad AI that lets you take advantage of GPT-4 without a subscription, includes retrieval augmented generation, like Phind, and gives you plenty of elbow room since it’s outside the IDE. With the free version you’ll experience more limitations (like a pretty significant character limit on your input) than paid tools like ChatGPT Plus or even GitHub Copilot or Microsoft Copilot Pro but hey, it’s free.
- Google Search Generated Experience (Labs) (free) is currently available on Google personal accounts (you@gmail.com) and you must enable it first in order to use it. Once enabled, it’s akin to Perplexity, augmenting your regular Google web search with a generated summary at the top of the results.

Leave a comment